
Drums · Guides
How to Prepare Drum Stems for an External Mixer
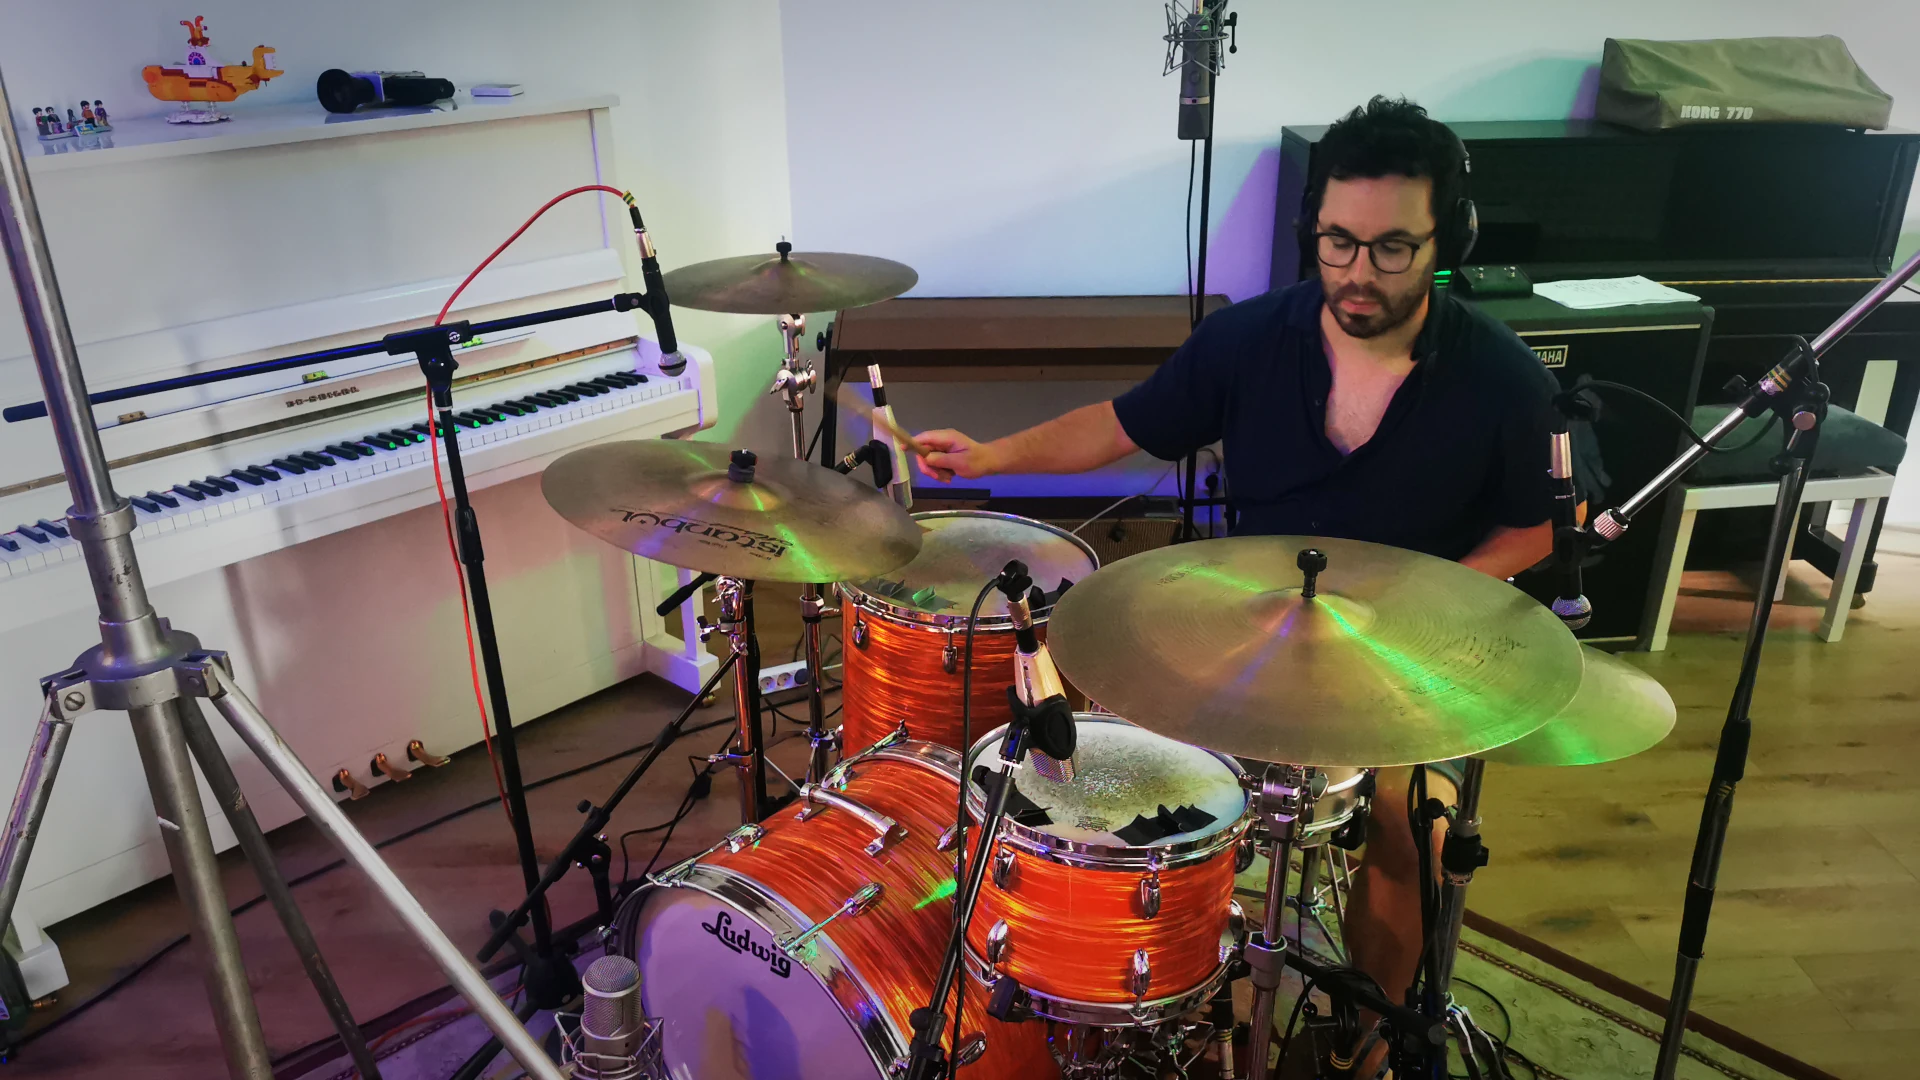
An external mixer should be able to drop your drum files into an empty session and hit play — no guessing about start positions, names, polarity or tempo. Here is the checklist we use when we deliver drum tracks recorded at Hot Milk Studio to another engineer.
Robert Cummings — producer, engineer and drummer
· 3 min read
1. Start every file at the same bar
We set a cycle marker that spans the song plus two bars of pre-roll, snapped exactly to the start of a bar, and export every track from that marker. The mixer imports with snap-to-bar enabled and everything lines up.
2. Name channels clearly and consistently
Our standard names: BD in, BD out, SD top, SD bottom, HH, RT10, RT12, FT14, FT16, OH L, OH R, Room L, Room R. Never "Audio 01" or "Kik".
- If the producer comps externally, every take is delivered and numbered: "Song – SD top – Take 1", "Take 2" …
- If we comp, there is one edited set without take numbers: "Song – SD top".
3. Export dry, mono, at the session resolution
- One mono file per mic — overheads and rooms included.
- Session resolution, typically 48 kHz / 24-bit; 32-bit float on request.
- No inserts, sends, fader levels or panning printed.
- No clip gain pushing peaks above 0 dBFS.
4. Check phase before you send
Polarity and timing between bass drum in/out, snare top/bottom and snare vs. overheads are checked and, where needed, corrected. Room mics stay untouched — their delay is intentional.
5. Add a README
A short text file with: song title, tempo (or "tempo map included"), sample rate and bit depth, start position of the files, track list with the mic used on each channel, polarity notes (e.g. "SD bottom already flipped"), panning perspective (drummer or audience) and a contact for questions.
6. Include the extras
Any click or tempo track we generated goes along. On request we add a rough drum mix or print processing on selected tracks, such as compressed room mics.